
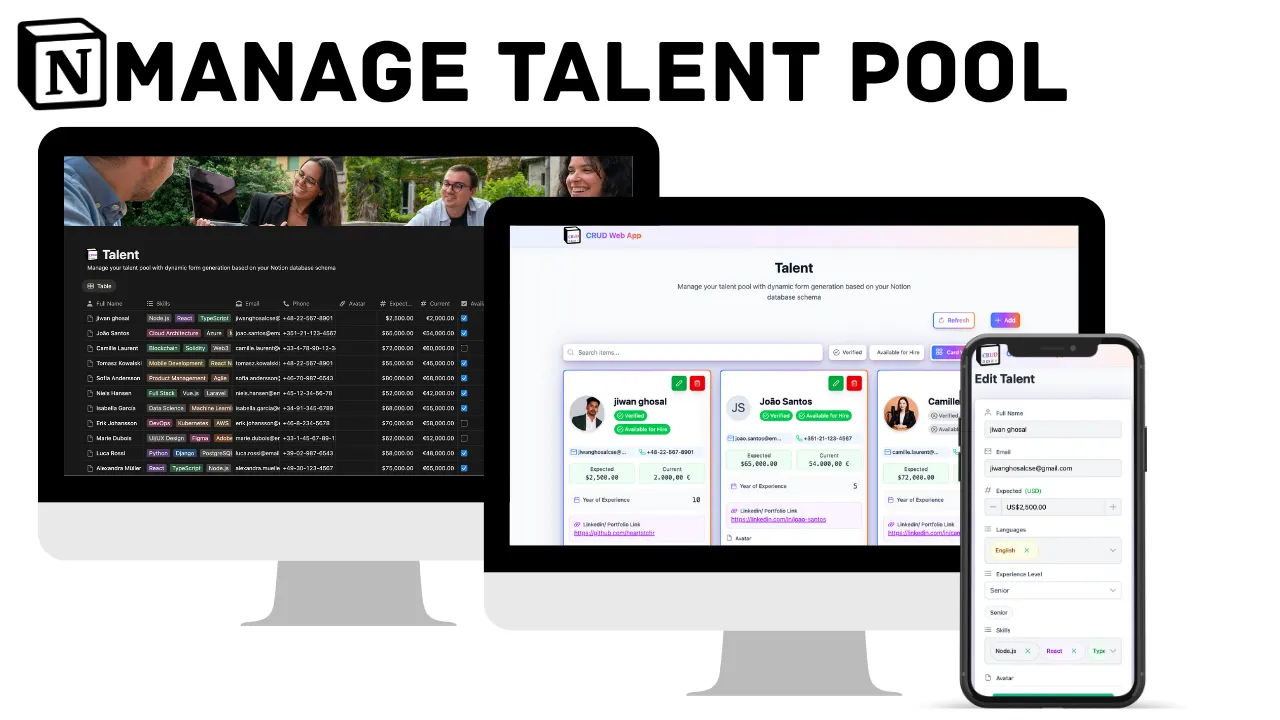
Transform your Notion database into a professional web application in minutes. Automatically reads your Notion structure and creates beautiful, responsive interfaces with intelligent forms, search, and multi-language support - completely free and no-code required.
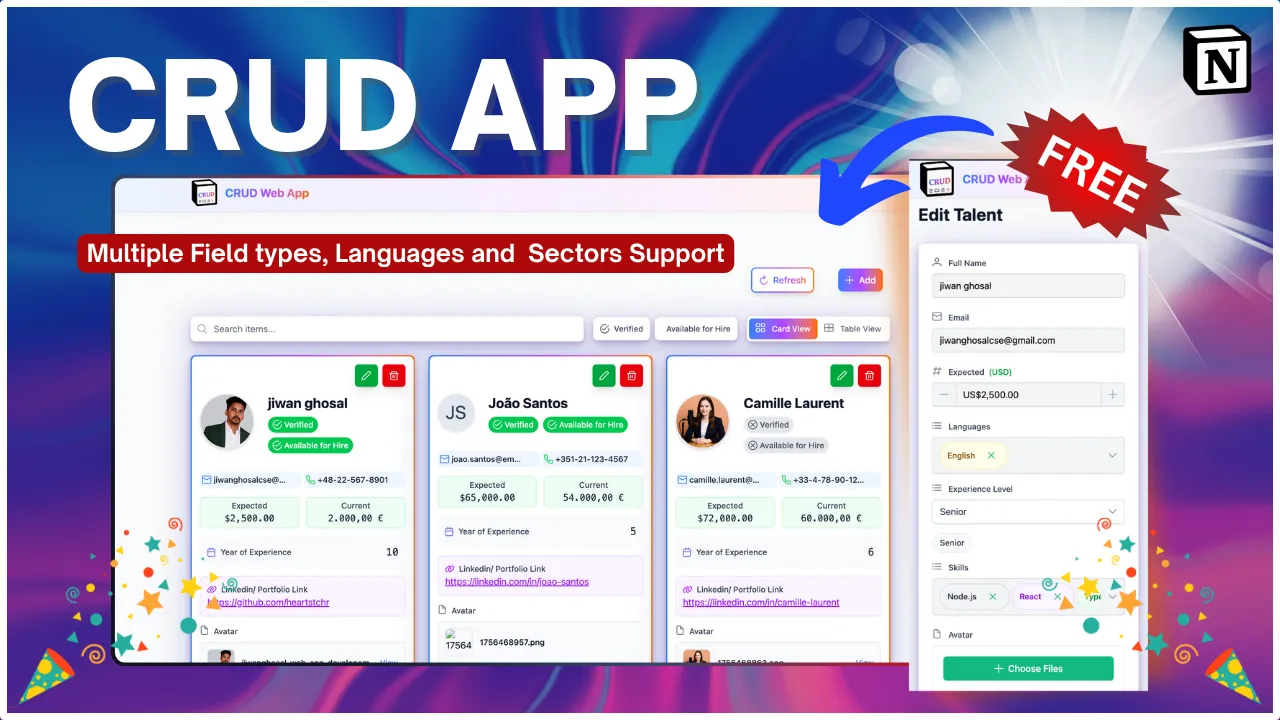
Dynamic CRUD App Free
About 15 min5/10/25


Features
Intelligent Schema Detection: Automatically reads and adapts to your Notion database structure in real-time
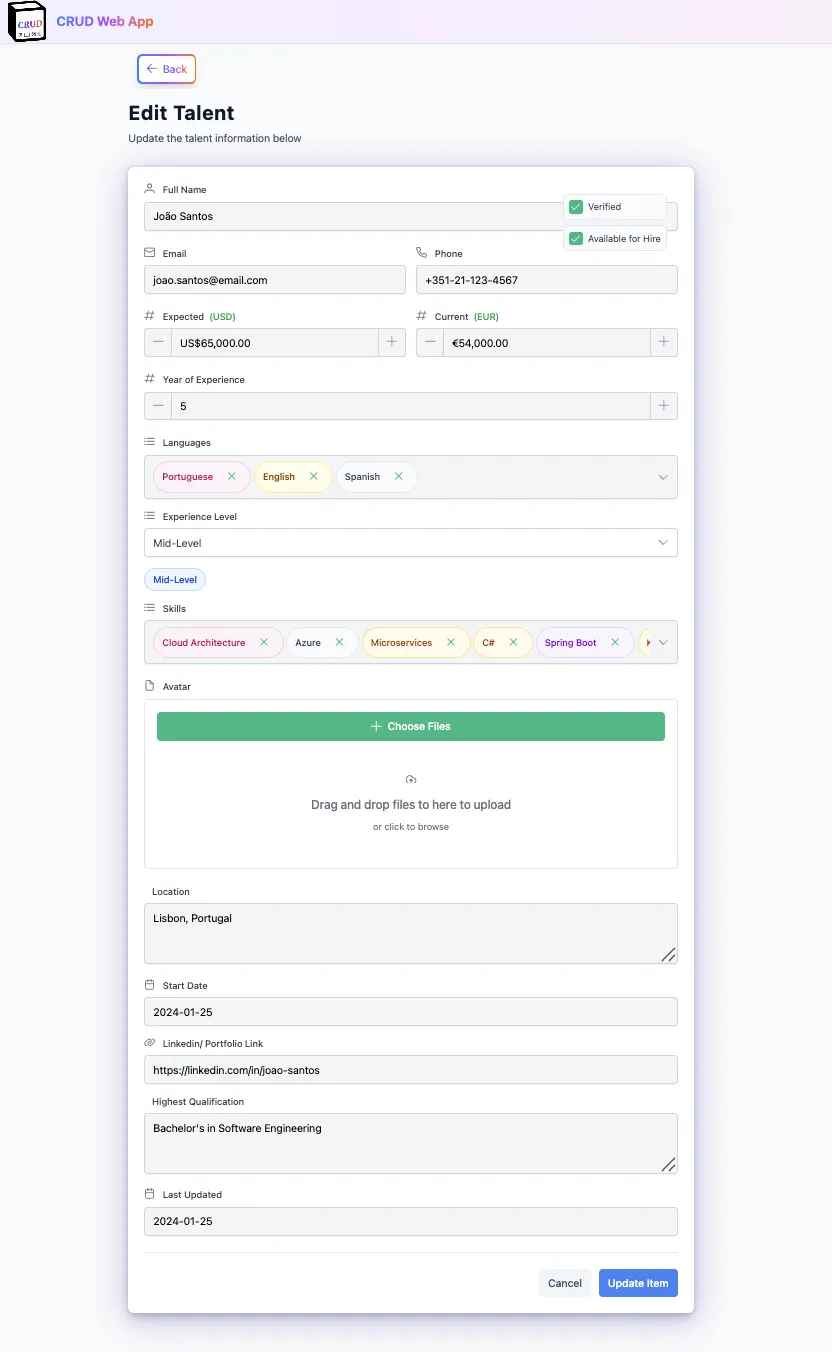
Dynamic Form Generation: Creates perfect forms based on field types - text, email, phone, dates, dropdowns, checkboxes
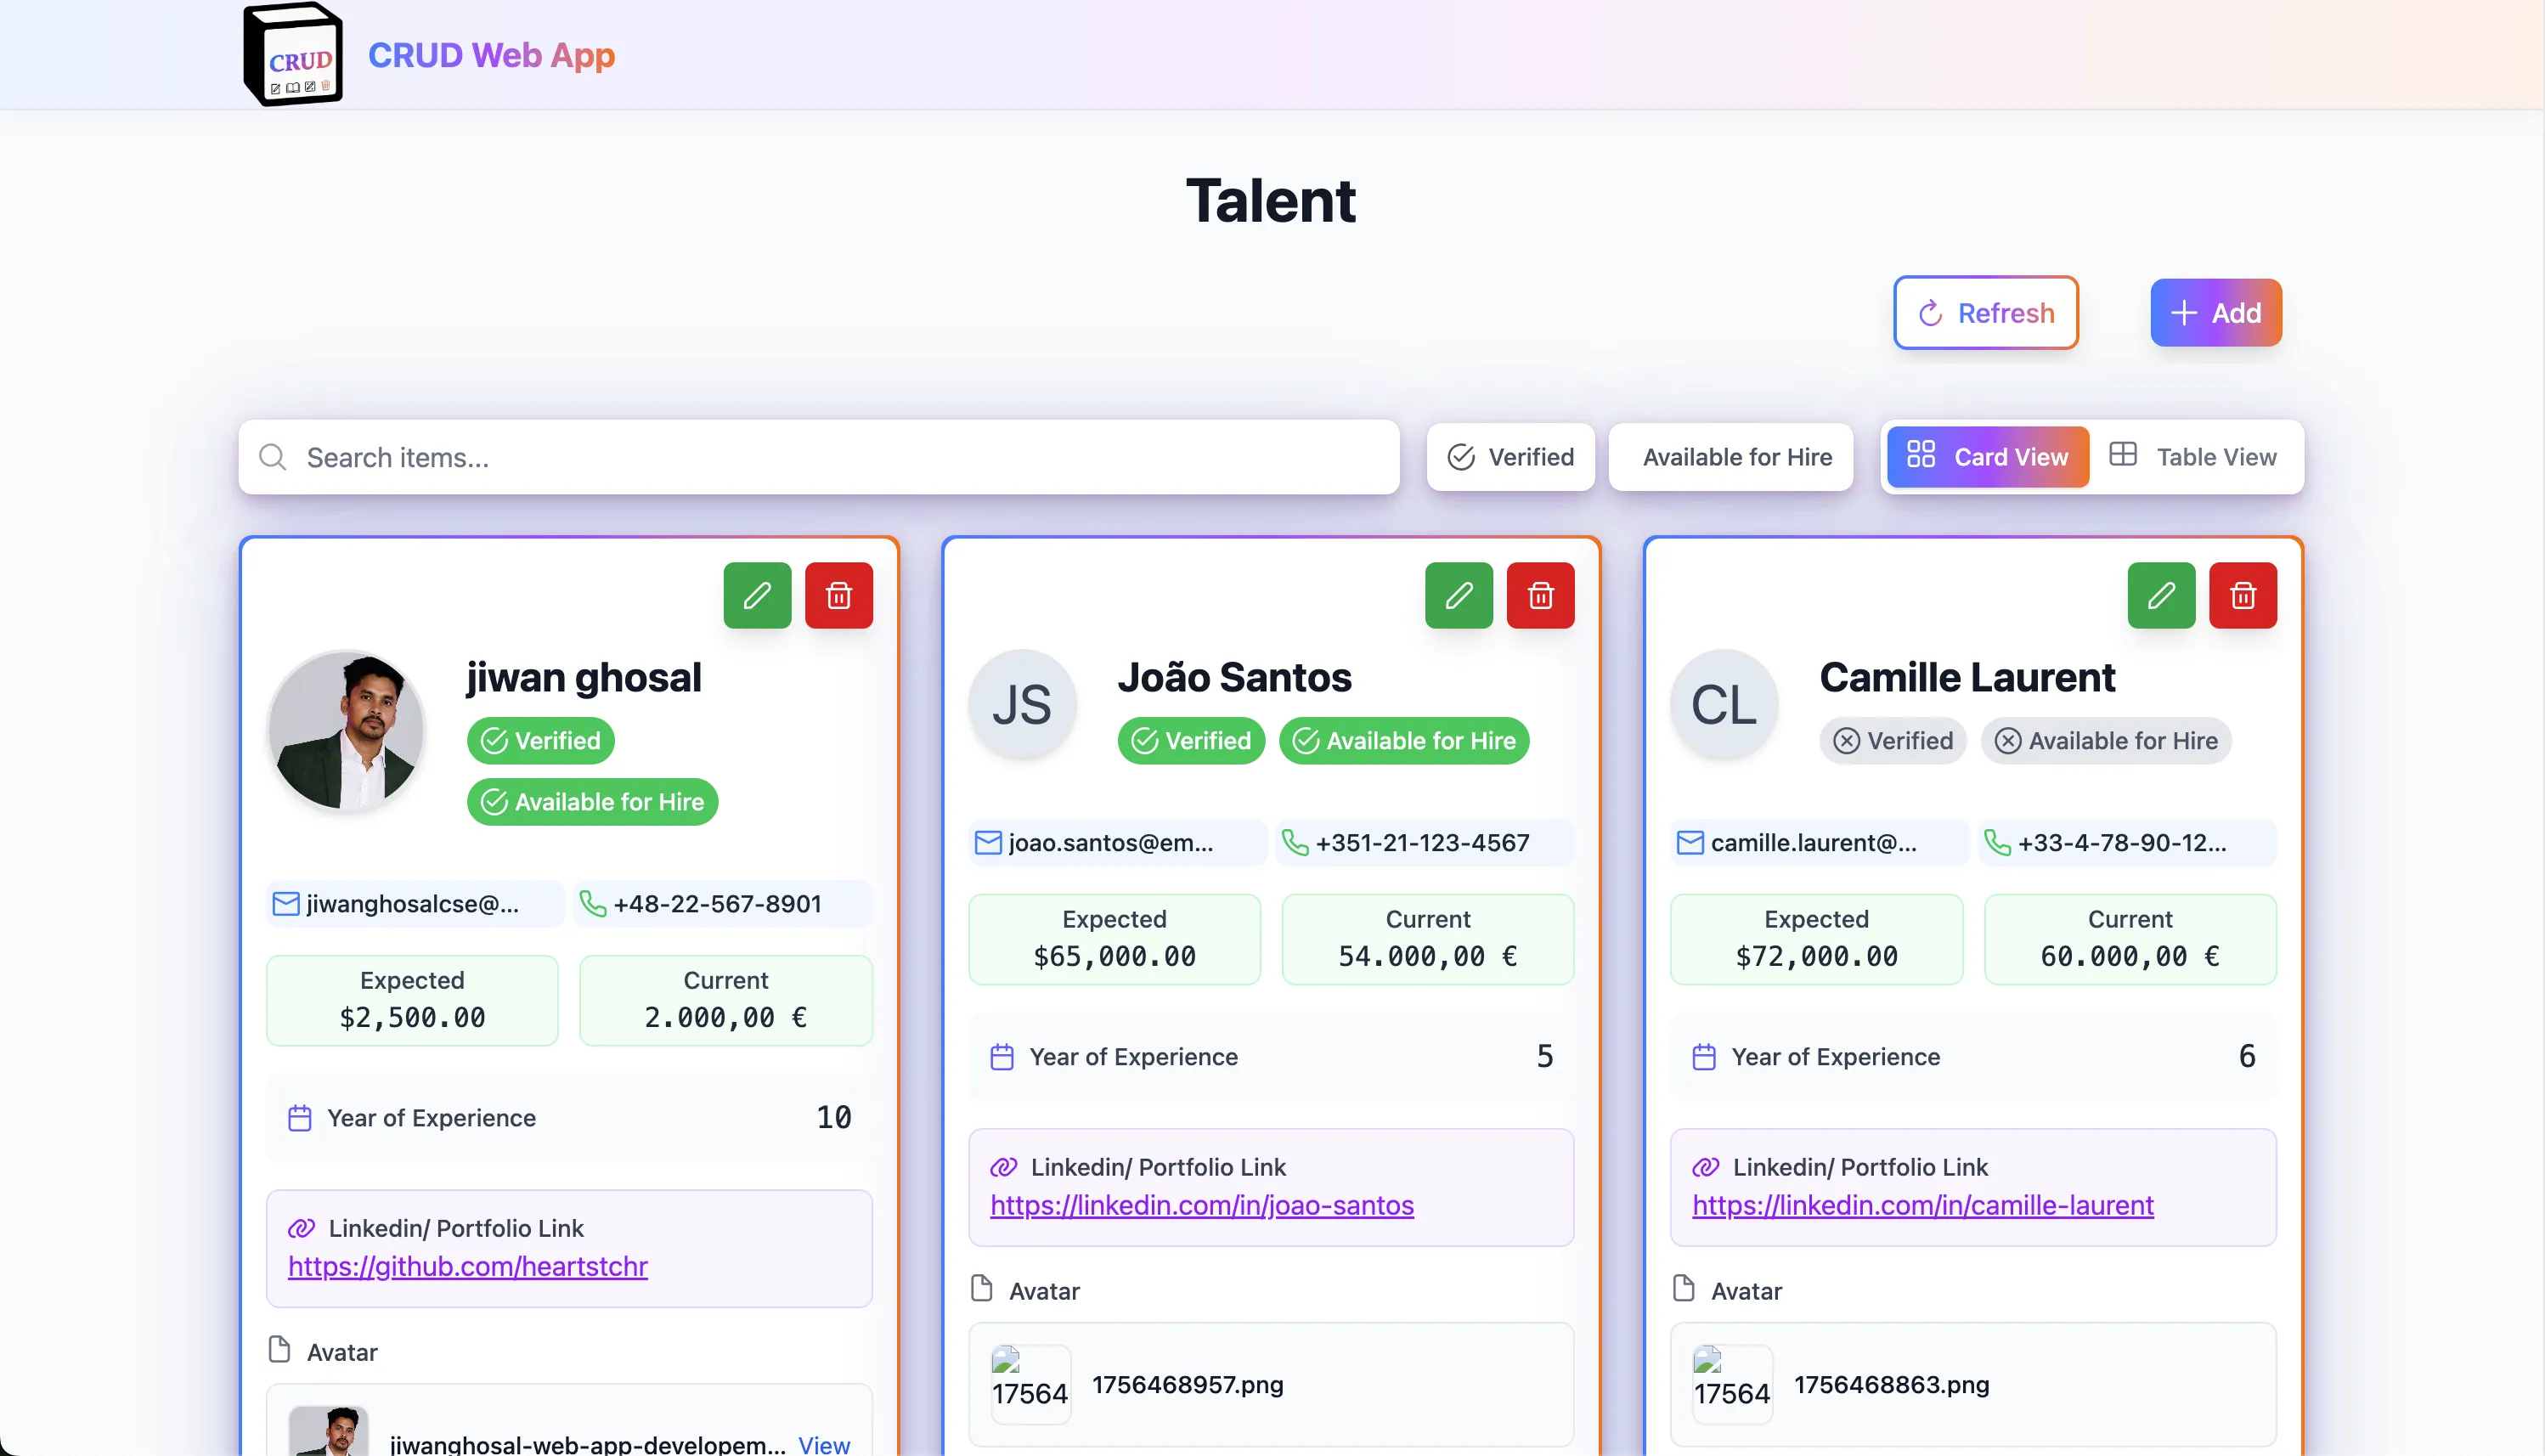
Professional Interface: Clean, modern design with card and table views that work on any device
Smart Search & Filtering: Intelligent search across all field types with automatic filter toggles for yes/no fields
Enterprise Safety: Confirmation dialogs for deletions, pre-loaded edit forms, and validation to prevent data loss
Multi-language Support: Works in any language with automatic currency formatting (USD, EUR, JPY, etc.)
Privacy Controls: Mark fields as '(Private)' in Notion to automatically mask sensitive information
Real-time Updates: Interface automatically updates when you modify your Notion database structure
Notion Web App - Simple Setup Guide
Turn your Notion database into a professional website in just a few steps! This guide will help you create a beautiful, responsive web application from any Notion database without any coding knowledge.
🎥 Video Tutorial
Watch the complete setup process:
📺 Video Guide: Follow along with our step-by-step video tutorial that shows the entire process from start to finish. Perfect for visual learners!
What This Does
Transform your Notion database into a professional web application! This powerful tool automatically converts any Notion database into a beautiful, responsive website that anyone can use to:
- View and browse your data in an intuitive interface
- Add new entries through user-friendly forms
- Edit existing information with real-time updates
- Search and filter through all your data
- Upload files and manage documents
- Access from any device - desktop, tablet, or mobile
Perfect for creating custom web applications for talent pools, job boards, contact management, project tracking, and more - all without writing a single line of code!
What You Get
✅ A professional-looking website that works on phones, tablets, and computers
✅ Easy forms that automatically match your Notion database
✅ Search and filter through all your information
✅ File uploads for documents, photos, and other files
✅ Privacy protection for sensitive information
✅ No monthly fees - runs completely free
What You Need
Before you start, make sure you have:
- A Notion account (free) - Sign up here
- A Netlify account (free) - Sign up here
- Your Notion database (the one you want to turn into a web app)
💡 Pro Tip: If you don't have a Notion database yet, you can create one or duplicate an existing template to get started quickly!
Step-by-Step Setup
Step 1: Get Your Notion Database
Option A: If you have a database link to duplicate:
- Click the database link you received
- Look for "Duplicate" button in the top right corner of the page
- Click "Duplicate" to copy it to your workspace
- Choose your workspace where you want to save it
- Click "Duplicate" to confirm
- You now have your own copy - this is the database you'll use
Option B: If you already have your own database:
- Open your existing Notion database (the one you want to turn into a website)
For both options, continue with these steps:
- Make sure it has the columns you want (Name, Email, Phone, etc.)
- Optional: If you have sensitive information, add "(Private)" to the column name
- Example: "Email (Private)" will hide the actual email addresses
- Copy the database ID from the URL:
- Look at your Notion database URL
- Copy the long string of letters and numbers after the last slash
- Example:
https://www.notion.so/stackseekers/25d30c0a61cd809e99b8f04ff79fe712?v=25d30c0a61cd80abb8b6000ca5bfa1a5 - The ID is:
25d30c0a61cd809e99b8f04ff79fe712
Note: If you don't see a "Duplicate" button on a shared link, ask the owner to share the database with you first.
Step 2: Create a Notion Integration
Create a secure connection between your website and Notion:
- Visit: Notion Integrations
- Click: "New integration"
- Fill out the form:
- Name: "My Website App" (or whatever you prefer)
- Workspace: Select your workspace
- Click: "Submit"
- Copy the token (starts with
secret_) - save this for later! - Share your database with the integration:
- Return to your Notion database
- Click "Share" in the top right corner
- Click "Invite"
- Search for "My Website App" (or your chosen name)
- Click "Invite"
🔒 Security Note: Keep your integration token safe - it's like a password that allows your website to access your Notion database.
Step 3: Deploy Your Website to Netlify
Deploy your website using Netlify's free hosting service:
- Visit: Netlify
- Sign up for a free account (if you don't have one)
- Click: "New site from Git"
- Choose: "GitHub" (you'll need to connect your GitHub account)
- Select: This repository (the one you downloaded)
- Click: "Deploy site"
- Wait for deployment to complete (usually 2-3 minutes)
🚀 Deployment Tip: Netlify will automatically build and deploy your website. You'll get a unique URL like
https://notion-crud.netlify.app/
Step 4: Connect Your Notion Database
Link your Notion database to your website:
- In Netlify, navigate to your new website
- Click: "Site settings"
- Click: "Environment variables"
- Add these two variables:
- Name:
NOTION_API_KEY
Value:secret_your_token_here(paste the token from Step 2) - Name:
NOTION_DATABASE_ID
Value:your_database_id_here(paste the ID from Step 1)
- Name:
- Click: "Save"
- Return to your website dashboard
- Click: "Trigger deploy" → "Deploy site"
⚙️ Configuration Note: Environment variables are like settings that tell your website how to connect to your Notion database securely.
Step 5: Enable File Uploads (Optional)
Enable file upload functionality for your website:
- Wait for the deployment to complete
- Navigate to: Site settings → Functions
- Scroll down to "Netlify Blobs" section
- Click: "Enable" (if not already enabled)
- Redeploy your site
📁 File Upload Note: Netlify Blobs provides secure file storage. Once enabled, users can upload documents, images, and other files directly through your website.
You're Done! 🎉
Congratulations! Your professional website is now live and ready to use. Here's what you can do:
- 🌐 Share the URL with anyone - your website is publicly accessible
- ➕ Add new entries through the website's user-friendly forms
- ✏️ Edit existing entries with real-time updates
- 🔍 Search and filter your data with powerful search tools
- 📁 Upload files (if you enabled file uploads)
- 📱 Access from any device - desktop, tablet, or mobile
🎯 Success! You've successfully created a professional web application from your Notion database without writing any code!
How It Works
Understanding the magic behind your new website:
- 🗄️ Your Notion database stores all the information securely
- 🌐 The website reads from your Notion database in real-time
- ✏️ Changes on the website automatically update your Notion database
- 🔄 Changes in Notion automatically appear on the website
- 🔒 Secure connection ensures your data stays safe and private
💡 Technical Note: This is a serverless application, meaning there's no server to maintain or update. Everything runs automatically on Netlify's infrastructure.
Common Questions
💰 Q: Do I need to pay anything?
A: No! Both Notion and Netlify offer free plans that work perfectly for most use cases. You only pay if you need advanced features or higher usage limits.
🔄 Q: Can I change my database later?
A: Yes! Add new columns in Notion and they'll automatically appear on your website. The application adapts to your database structure in real-time.
🔒 Q: Is my data safe?
A: Absolutely! Your data stays in your Notion account. The website just reads and writes to it through secure, encrypted connections.
🎨 Q: Can I customize how it looks?
A: The website automatically adapts to your database structure. You can change colors, logos, and branding if needed.
❓ Q: What if something goes wrong?
A: Check the troubleshooting section below, or contact support. Most issues are easily resolved with a few simple steps.
Troubleshooting
🔑 "Notion API key missing" Error
Problem: Your website can't connect to Notion.
Solutions:
- ✅ Make sure you added the environment variables correctly in Netlify
- ✅ Check that the token starts with
ntn_ - ✅ Redeploy your site after adding the variables
- ✅ Verify the token is copied completely (no extra spaces)
🗄️ "Database not found" Error
Problem: Your website can't find your Notion database.
Solutions:
- ✅ Make sure you copied the correct database ID from the URL
- ✅ Check that you shared the database with your integration
- ✅ The database ID should be from the URL, not the page title
- ✅ Verify the integration has access to the database
📁 File uploads not working
Problem: Users can't upload files to your website.
Solutions:
- ✅ Enable Netlify Blobs in your site settings
- ✅ Redeploy after enabling Blobs
- ✅ Check that the function is enabled
- ✅ Wait a few minutes for the changes to take effect
🌐 Website looks broken
Problem: Your website doesn't display correctly or shows errors.
Solutions:
- ✅ Wait a few minutes for the deployment to complete
- ✅ Check that all environment variables are set correctly
- ✅ Try redeploying the site
- ✅ Check the Netlify function logs for specific errors
What Happens Next
Now that your website is running, here's what you can do:
- 🧪 Test it by adding some sample entries to make sure everything works
- 🌐 Share the URL with your team, clients, or customers
- 🔄 Update your Notion database and watch the website update automatically
- 🎉 Enjoy having a professional website without any coding!
🚀 Next Steps for Success
- Monitor usage through Netlify's analytics dashboard
- Customize branding by updating logos and colors
- Add more features by modifying your Notion database structure
- Scale up by upgrading to paid plans if you need more features
💡 Pro Tip: The beauty of this system is that any changes you make in Notion automatically appear on your website. No technical maintenance required!
Need Help?
If you're still having issues, here are some resources:
🔍 Debugging Steps
- Check the logs in Netlify to see what's happening
- Test your Notion connection by visiting the Notion API documentation
- Verify your environment variables are set correctly
- Try redeploying if something seems wrong
📚 Additional Resources
- Notion API Documentation - Official Notion API guide
- Netlify Documentation - Netlify hosting and deployment guide
- GitHub Issues - Report bugs or ask questions
💬 Getting Support
- Create an issue on GitHub if you find a bug
- Check existing issues to see if your problem has been solved
- Join the community discussions for tips and tricks
🎯 Final Summary
Congratulations! You've successfully created a professional web application from your Notion database. This powerful tool gives you:
- ✅ Professional website that works on all devices
- ✅ Real-time synchronization with your Notion database
- ✅ No coding required - everything is automated
- ✅ Free hosting on Netlify's infrastructure
- ✅ Secure data storage in your Notion account
- ✅ Easy maintenance - just update your Notion database
That's it! You now have a professional website that automatically syncs with your Notion database. No coding required, no monthly fees, and it works on any device!